 |
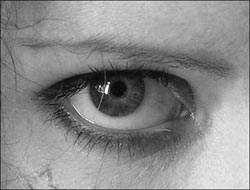
I have chosen a photo of my own eye which had some good shading for a charcoal drawing. |
|
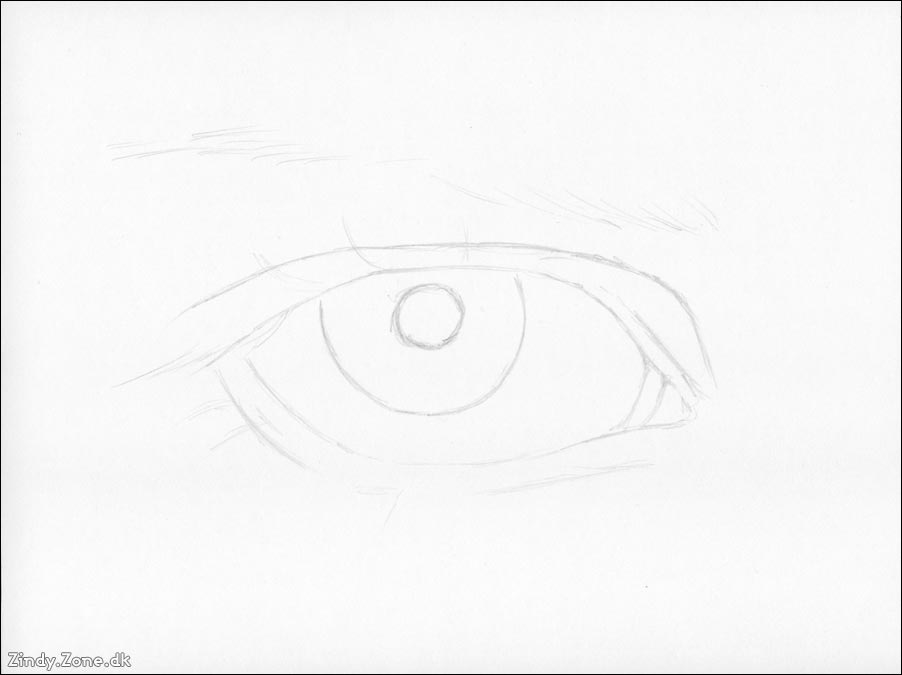
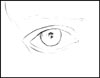
First step is drawing the basic lines for the eye, with a normal graphite pencil. You can either do this by pure eye or measure things up with your pencils, which is what I usually do. See more about the method here: link.
Be sure not to draw up the lines too visible and hard. They are just meant as a guidance. |
|
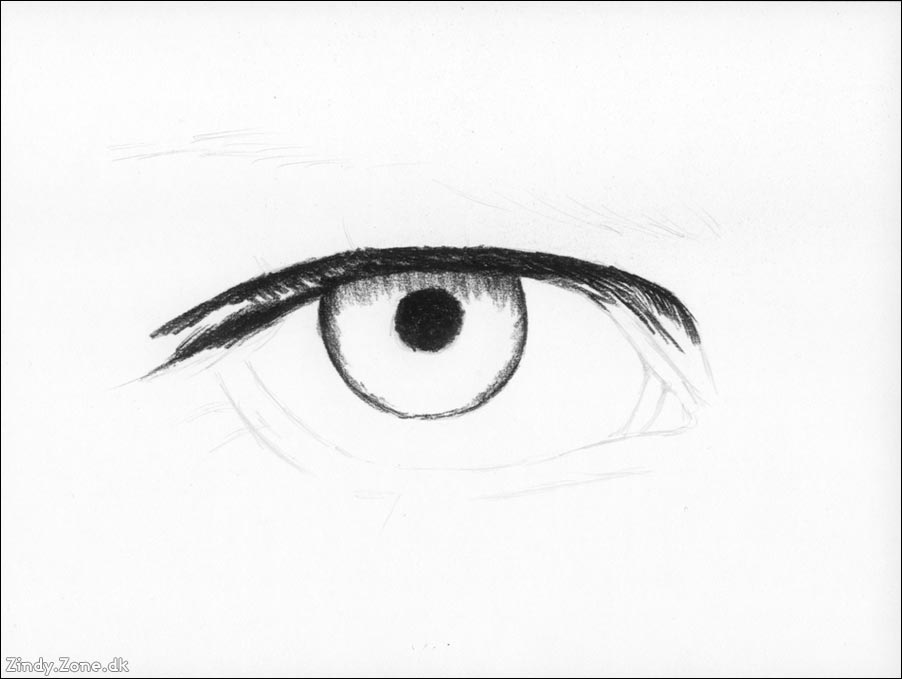
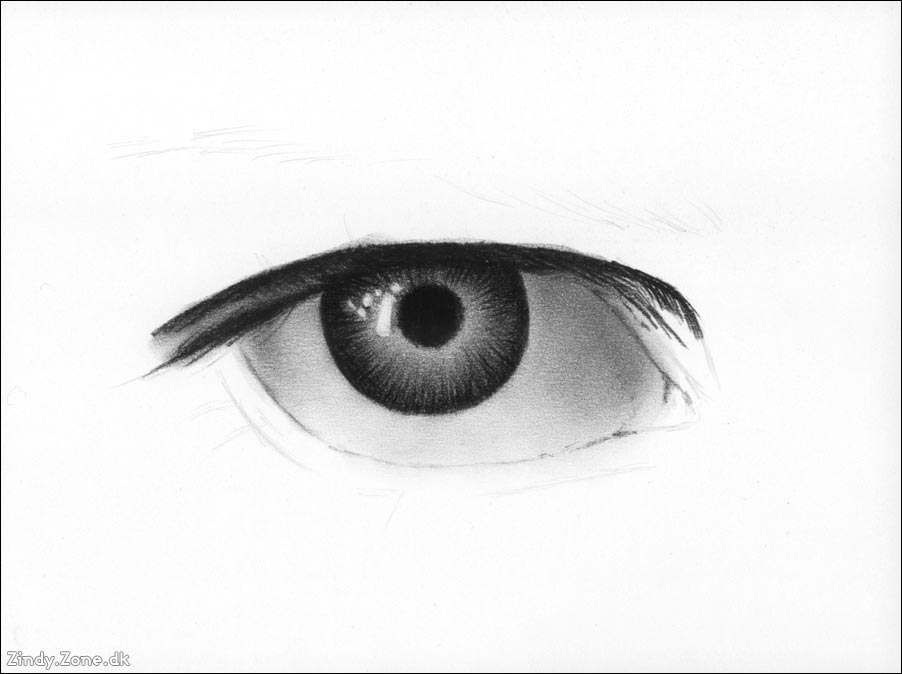
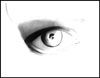
I start putting in the darkest parts such as the pupil, the ring around iris and above the eye, where it’s very dark on the reference. Don’t be afraid to add much coal the places you know will be entirely black. However, be careful not to get too much loose coal powder on the areas where it’s suppose to be a light shading. It can easily stick to the surface and will be hard to remove afterwards. |
|
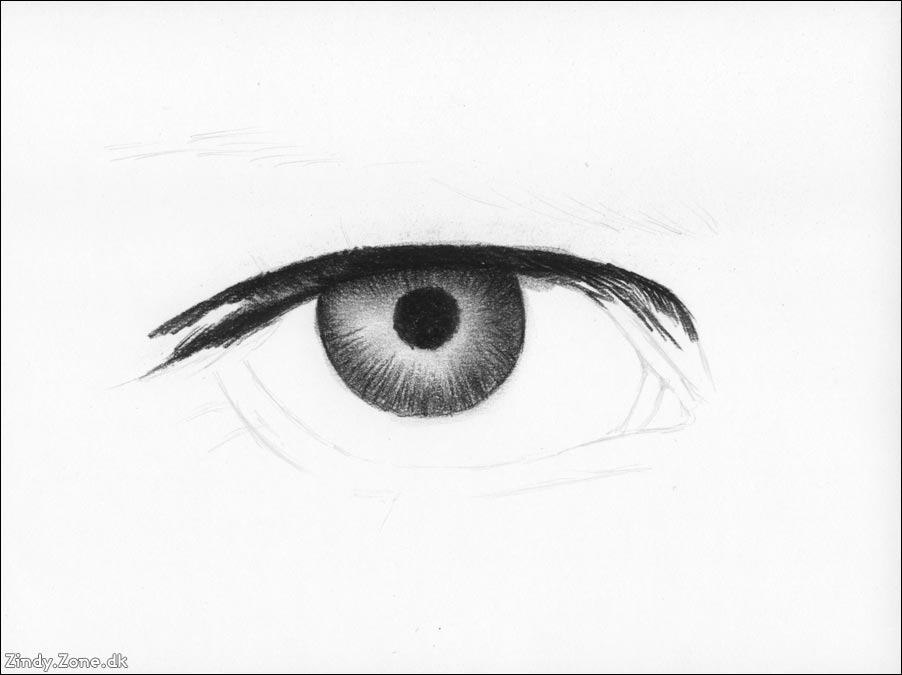
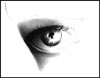
Now I start fading out the black in the iris and around the pupil. Fade with your fingers, I usually use my index finger or middle finger. Avoid getting it too dark where the white highlight is on the reference. It’s okay to touch it a bit with shading as you can correct it and make it white again with your kneaded eraser in the end.
Once you’ve faded it to a light grey tone add small strokes from the iris line towards the middle of the pupil. Do it rather softly but still rather dark as that’s how it is on the reference. |
|
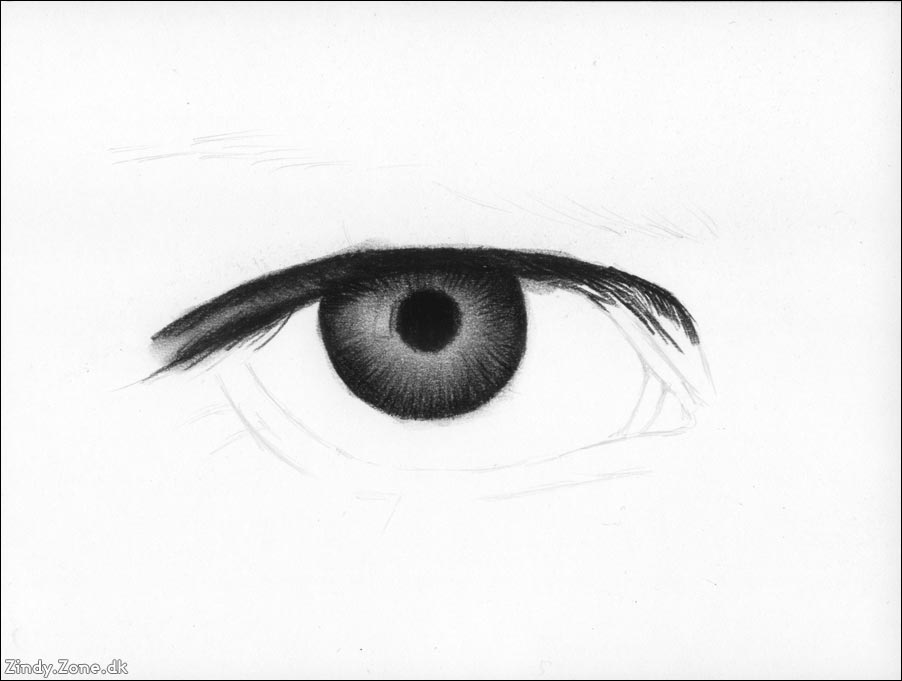
Continue fading with your finger, adding more coal if needed, fade and add more coal, until you get the desired dark tone. |
|
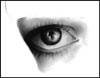
I made the highlights in the iris, by touching the surface of the paper with my kneaded eraser. Form your kneaded eraser like a tip before you do this. Doing this allow you to make very thin spots/areas. If you keep at it long enough you will be able to make a very bright white highlight exactly where you want it.
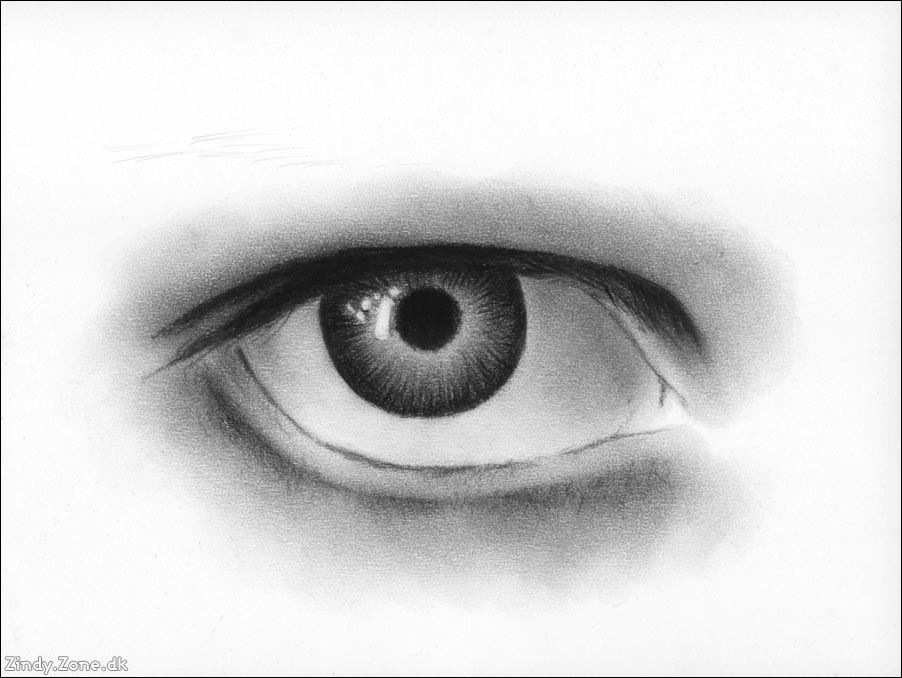
I shade the white area of the eye very lightly. You this the best way by having a piece of paper beside you adding a bit of coal. Gently rub your finger on it getting only a bit of coal on it. Then softly shade the area by touching the paper and fade gently. At the right side of the eye it’s slightly darker. Add a few layers of darkness here till you reach the desired tone. |
|
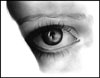
Use the same technique to add the shading above the eye. Add some darker shading just above the black makeup, to give it the right depth. Fade gently and be careful not to leave marks from your fingers, in case they are a little oily. Leaving marks from your fingers can ruin a drawing, which is why coal is a rather challenging medium to use. It leaves very little room for mistakes. |
|
Do the same under the eye, and around it. Shade the ‘wet line’ as well. |
|
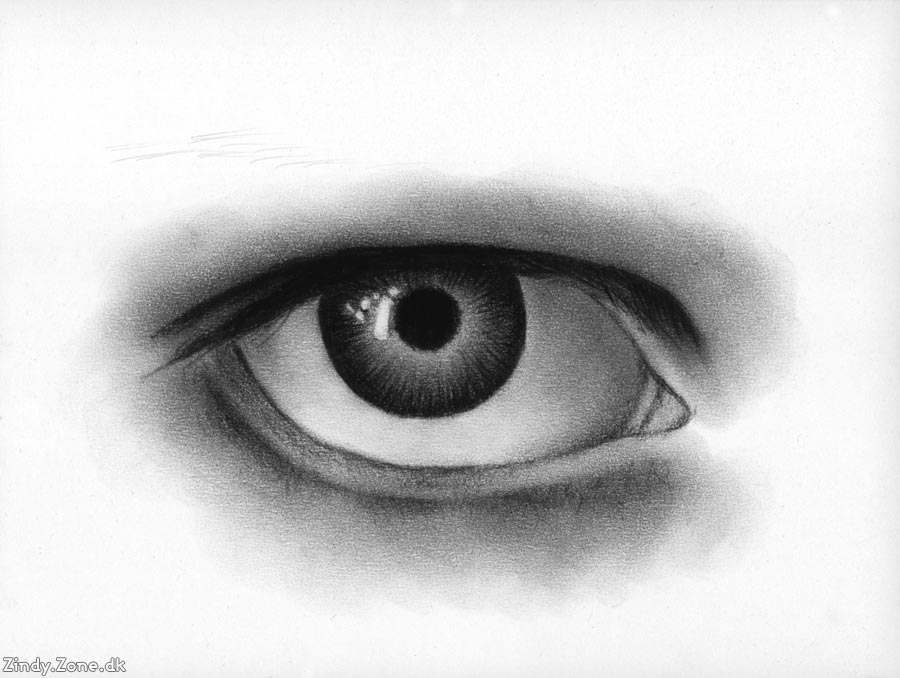
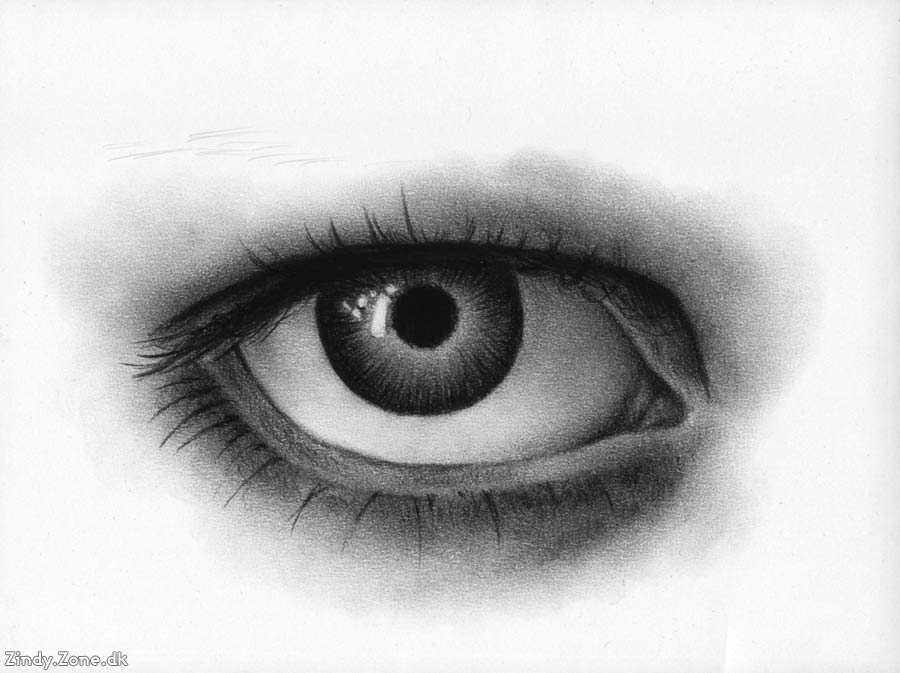
I have shaded the wet line even more and are beginning to shade the inner corner of the eye. The eyeball is beginning to take more form now as you shade around it. |
|
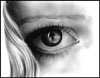
I have shaded more in the inner corner as well as around it. Most of the shading of the eye is now completed.
I have added a lot of the eyelids. Do this by sharpening your charcoal pencil as much as possible, then add the eyelids softly. Don’t press too hard and try to variety the length and the thickness of them. Eyelids usually gets thinner near the end of the hair. It’s important to make a good variety in them to make it look natural. You can either choose to draw them exactly as shown on the reference or make them more freestyle. |
|
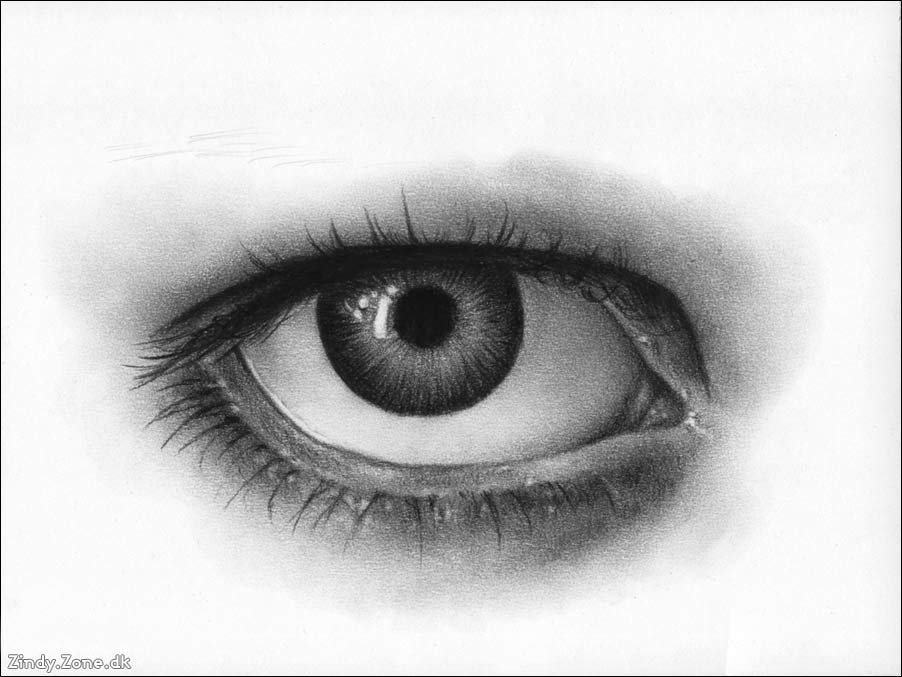
I have shaded a little more roughly under the eye and at the right corner of the eye. |
|
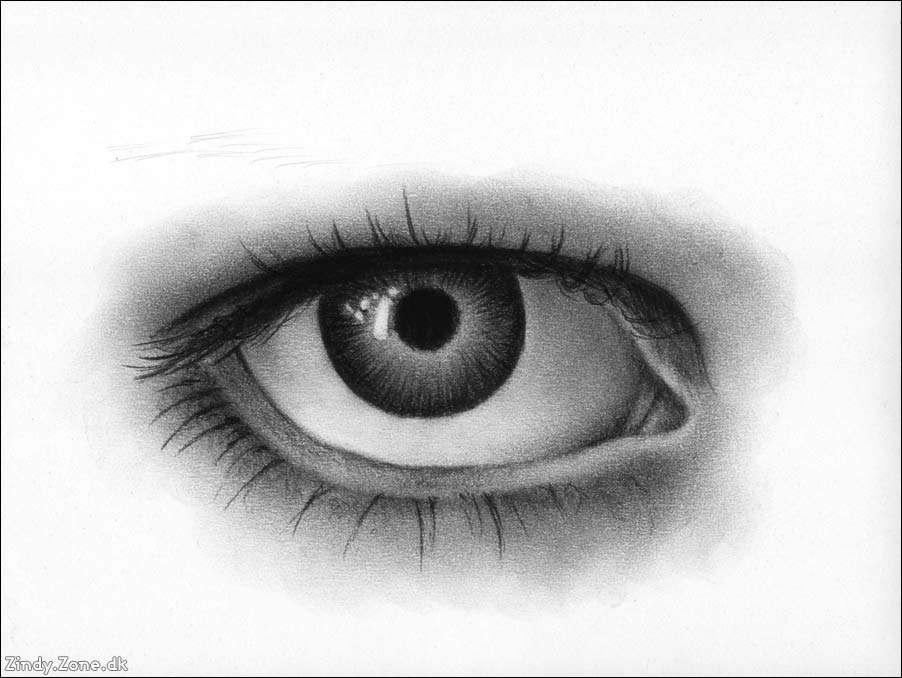
I’ve added the small highlights – the wet parts of the eye. I used the same technique as when I created the white hightlights in the iris. |
|
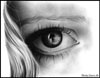
More visible eyelashes added on the lower line of the eye. I’ve shaded a bit more around the pupil, leaving it less light and smooth. The work around iris and pupil is done now. Now I just need to draw the eyebrows and the eye is done. |
|
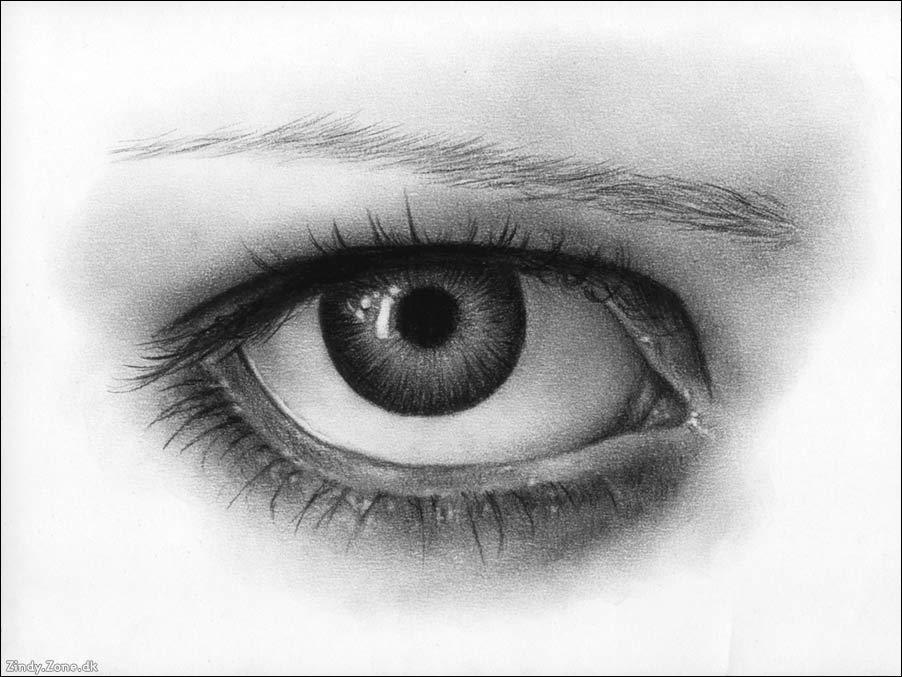
I have now added the eyebrow. I made it by drawing thin lines, going from right to left, adding them in a horizontal direction. At the 1/3 part of the left side I’ve made them more downwards to follow the natural bow. Some of the eyebrow hairs are more thick than others, it’s a good idea to vary a little with the length and thickness when making eyebrows, as it will make it look more natural. I seldom keep straight to the reference but you can choose to do so if it’s easier for you. |
|
At last I have added a light shading above the eyebrow and I am done with the eye drawing. |
|
|
| |