-
Tutorial -
To
begin with I'd like to say that none of this is
professional words. There's probably lots of ways
to draw faces. This is just my experiences and opinions
of how to draw. I just hope you can use it to something
good :)
_________________________________
Tutorial page 1 | Tutorial page 2
|
|
Page 1
Materials:
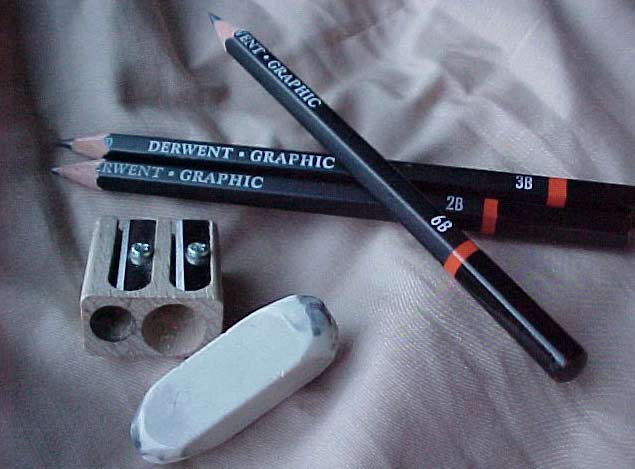
 Pencils and Erasers Pencils and Erasers
 Pencil Examples Pencil Examples
 Coal Coal
 Colour Pencil Colour Pencil
 Paper Paper
Tips & Tricks
 Drawing up the lines Drawing up the lines
Drawing is seeing
Proportions - placing the elements of the face correctly
Shops

|
|
| |
| |
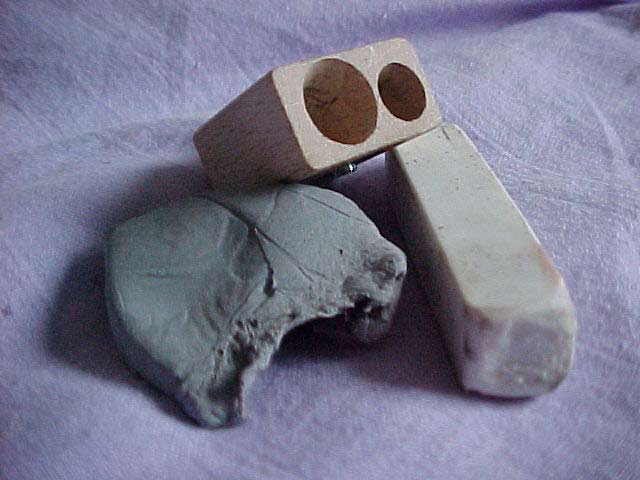
The eraser I use is one I bought in a sheap shop, which is the best eraser I've ever had! Unfortunately they don't sell them anymore. So, I've got some blue stuff, as on the picture above, kneaded erasers - you can buy it at any bookstore and ofcause art shops.
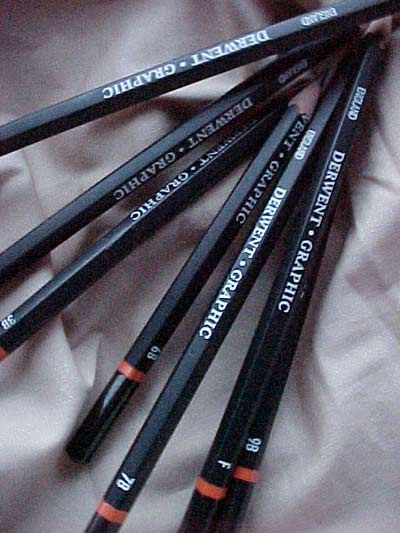
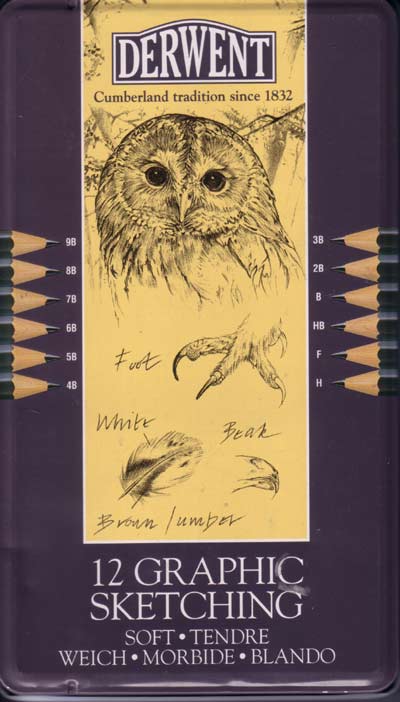
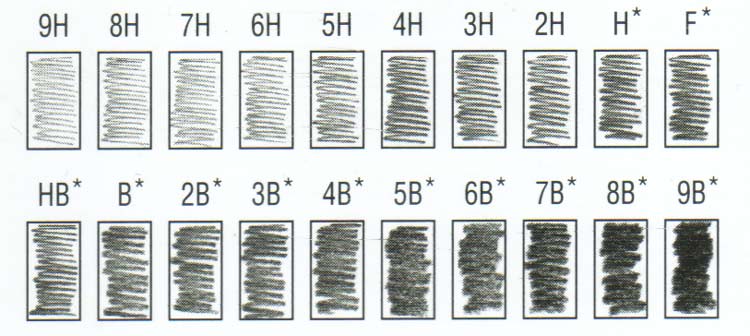
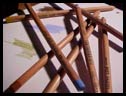
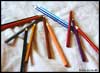
- Pencil Examples -
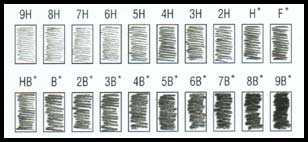
Here you can see the different type of pencils |
|
I
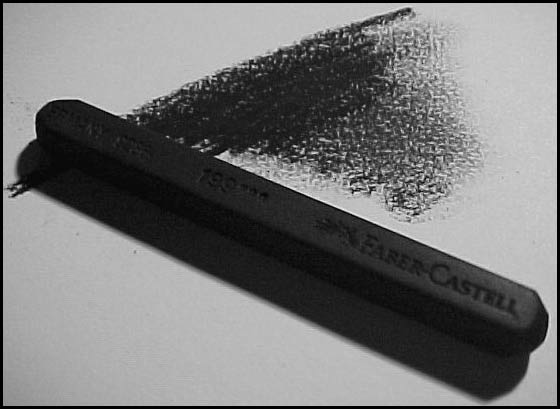
love working with coal. It's so different
from a pencil. You can make some great shadows
and cool contrast, which you can't with a
pencil.
Let's start with the coal I use... |
 Faber
Castell coal
Faber
Castell coal |
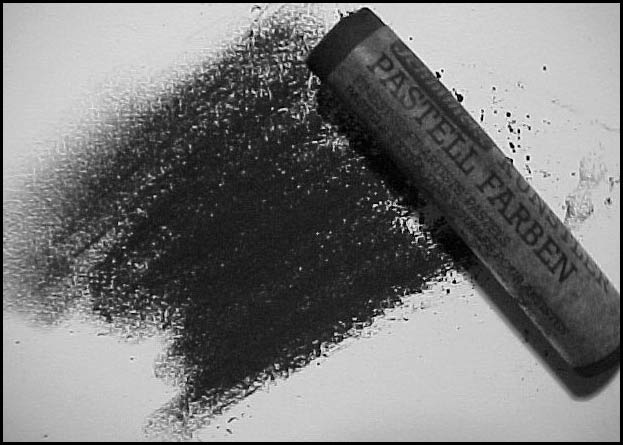
 Scmincke
soft coal
Scmincke
soft coal |
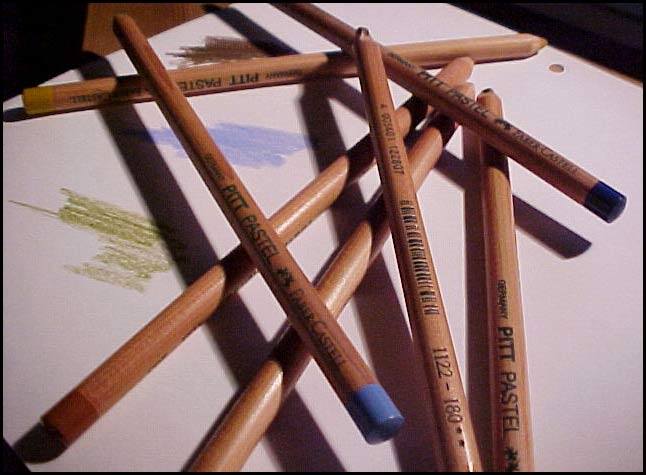
 Faber
Castell, Pitt Pastel
Faber
Castell, Pitt Pastel |
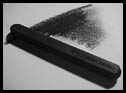
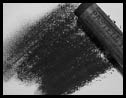
Example
on the different coals:
Faber Castell drawing 1
| Schminke drawing | Faber Castell colors 1
2
3
Because of the width of the coal it's difficult to make small details, so it's a good idea to use a thin coal pencil along with it.
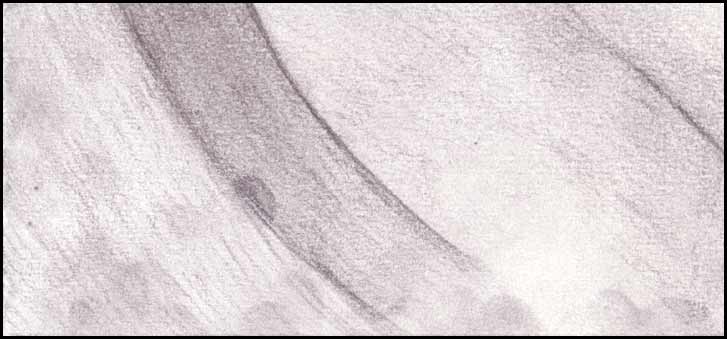
When I draw with coal I blend with my fingers a lot, to fade out the coal. That's the only way to get the smooth look for me at least. A lot of people use blending tools, but they have never really worked for me, so I guess it's a choice you have to make. If you do use your fingers be careful not to put fingerprints on the paper like this:

Once they are there you can't remove them! When I'm drawing I wash my fingers a lot so that they won't get sweaty. I think that's the reason these marks appears.
|
| |
| |
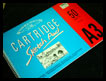
- Colour Pencil -
I am not working much in colour but I try. The coloring pencils I use are just some pencils for kids, nothing fancy or expensive really. However I am thinking in invensting in some Faber Castell ones as I love the brand it might be easier to blend the colours etc.
But for now these are what I use:
This is a girl in progress. It's not completely finished yet, so more steps will be added.

|
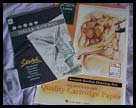
Then you need paper. Often I draw on regular matte copy-paper, which is excellent to draw on - unfortunately some of it gets yellow in a couple of years! So I've bought some expensive paper. But no matter what you choose it should have a matte surface, specially if you are working with coal.
I do most of my pastel pencil portraits on a studio pad from Esselte size 21x29 cm, it's a really good one!
|
 Paper(1)
 |
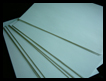
 Paper(2)(3)
 |
|
Paper(1)
is very good with both coal and pencils.
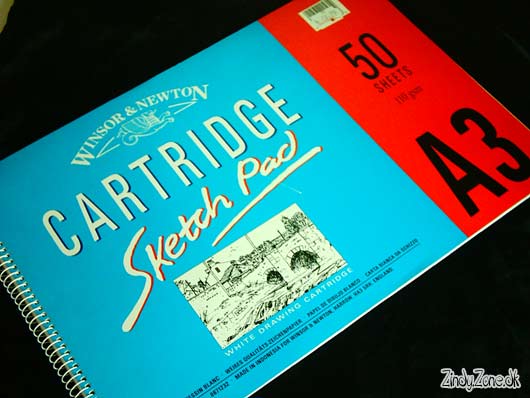
Paper(2) is excellent for pencils. It is a bit yellow
but in my opinion it doesn't matter. It's very good
for dark drawings(Pencil 6B, 7B etc.). On many paper
types if you make it very dark it looks almost shiny
and I really don't like that.
Paper(3) is good for coal drawings. It's not my favourite
though.
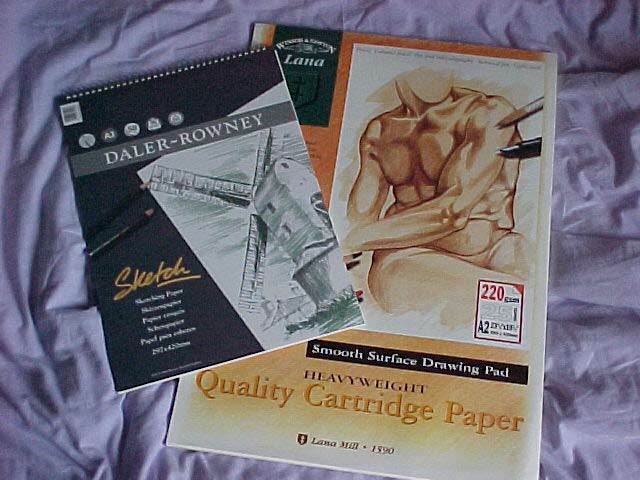
Paper(4) is good when working with pencil, it can go dark without shining.
Paper(5), this paper I recently bought and it seems to work fine with colour pencils. However it's bought in a supermarket so it's not that easy to get.
Paper(6) in the past I used to use regular copy/printer paper, it was actually some of the best to draw on but unfortunately it can turn yellow as time goes by, so I don't use it anymore. |
 Paper (4)
|
Paper (5)
|
Paper(6)
Regular matte laser copypaper
|
|
|
- Tips & Tricks -
____________________________
Drawing
the lines
It's a really good idea to draw up the lines weakly,
or you'll risk getting the proportions wrong. Trust
me, I have "ruined" many drawings in the past. I used to start
up drawing the eyes, drawing the shadow and stuff and
then go on to the nose, hair etc. But it is
really difficult to place the eyes, nose mouth in
the right positions if you don't do it to begin
with. Unless you have really good eyes or/and really
have flair for proportions.
But
remember - only weakly, or else the lines will be
too visible or dark, and in the end make the
picture look artificial, if you know what I mean.
Somehow unrealistic, and the aim is to make it look as realistic as possible.
_____________________________________
Drawing is seeing
An old teacher of mine once said that drawing is
seeing. Do you know the feeling of having an
image of some kind in your head but you just
can't get it to paper? It's all about learning
to see the object, in order to understand them.
And I think that's what makes it so hard to get
the drawings to look exactly what we want them to,
like a crooked mouth and so on.
______________________________________
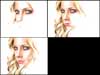
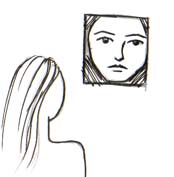
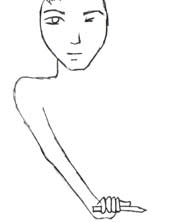
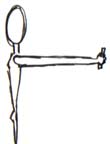
Proportions
- placing the elements of the face correctly
My old design teacher once told me how to place
the elements of the face correctly.
Actually it was meant for all kind of objects, mostly outdoor things like nature, but
it will work with portraits as well.
You can just use your pencil.
Place your picture/object in front of you, maybe
hang it on the wall if it's a big picture. Grab
the pencil with you right hand, your arm should
be stretch right in front of you. Close one of your
eyes(the left) and with the pencil in front of you
measure the distance fx. between the persons eyes.
It's kind of hard to explain in words, but I hope
you understand the point.
I know these pictures are dead ugly,
but I hope they can help illustrate my point!
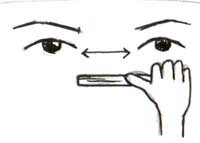
Another way -which I normally use - is to simply use your pencil to see if things are in line etc. It helps if you print the photo or whatever you want to draw from the same size as your drawing is going to be, it really helps a lot. But if you use small pictures you can do it too.
You really need to get the proportions right in order for your drawing to look like the actual person. It's hard and can be a very time consuming part of the drawing process but it's really important, so take your time to do it properly.
______________________________________________
|
-
Shops -
I love shopping new stuff to draw with, just
as much as I love shopping cloth!!:)
I mainly buy my stuff these places. |
Tegnecenter
Store Kongensgade 21
1264 København K
Online Shop |
They
have good but expensive paper. |
City
Kunstartikler
Strøget, Amagertorv 9, 1.
1160 København K
Online Shop |
Another art shop, they have a nice collection of coal and paint.
|
Stelling & Fyldepenne Depotet
St. Kirkestræde 1
Nikolaj Plads
1073 København K
Online shop
|
My favourite art shop. They have pratically everything. I always buy my paper and pencils there. |
|
| |
| |
|
|

|